Setting up crew and passengers
Crew & Passengers
The app uses your phone’s contacts to store crew and passenger details — except on Windows where a local database is used instead. This means your crew and passenger data is as secure as your own phonebook.
Your crew and passenger list
|
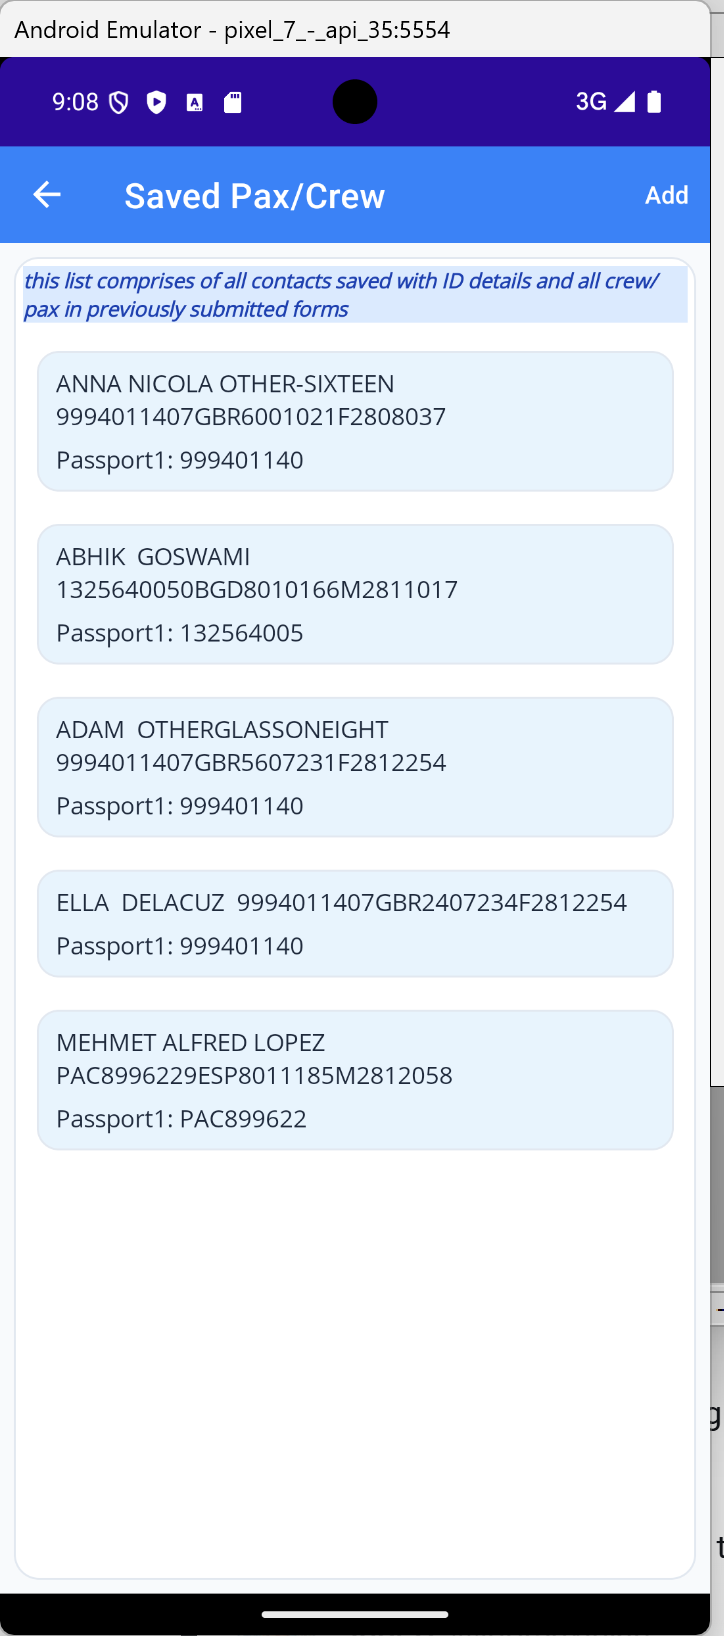
Tap Manage Crew List (item 3 on the main menu) to see your saved crew and passengers. The list will be empty first time around. Once populated it shows each person’s name and passport number. Unlike aircraft, crew and passenger entries are validated as you save them — you will get warnings if any required data is missing. A note on contacts: phonebooks are often not well structured. For example, a family name may not be in a dedicated surname field but combined in a single name field. The app does its best to interpret this, but the more structured your contacts the better the results. |
|
Adding a new crew member or passenger
|
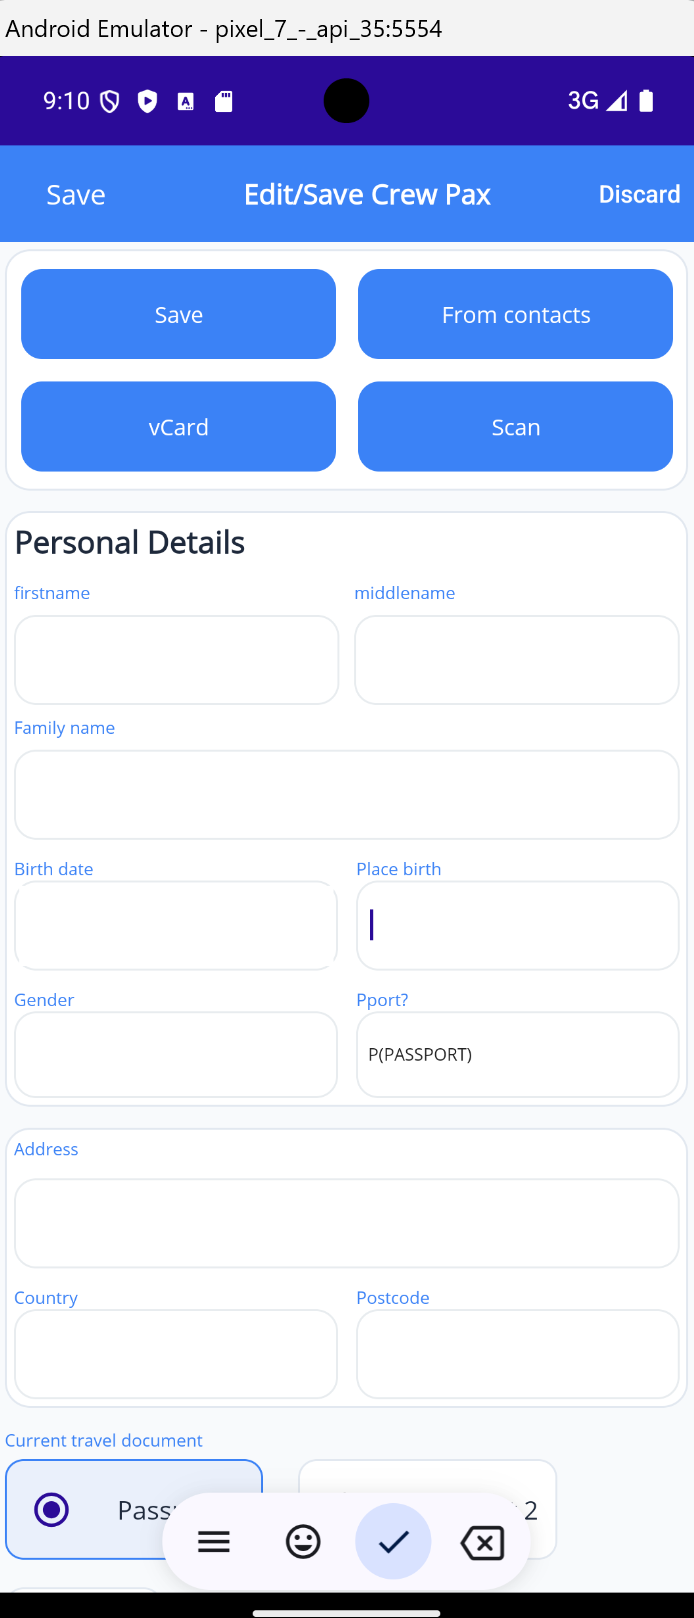
On the crew list screen tap Add in the top right of the navigation bar. The add/edit screen appears — it is a scrolling screen because there is a lot of information to capture. The Personal Details section contains fields for:
Below that are fields for up to two passports and an ID card. It is common in Europe to hold two nationality passports and use different ones in different countries. When assembling a GAR/GenDec you can select which travel document to use for each trip. For travellers within the Common Travel Area (CTA — Ireland, Isle of Man, Guernsey, Jersey, Great Britain) border crossing is permitted on ID alone, which is generally a photo driving licence. There is an option to save driving licence details for such travellers. All Personal Detail fields are required if the person may be designated Pilot in Command. See the Creating a Declaration page for more detail. At the top of the form there are four buttons — these are great time-savers and are explained in the sections below. Save is duplicated by the navigation bar back button. Note on names: parsing of OCR or other imports may incorrectly split compound names — for example Van den Bosch may import as just Bosch. Always check and correct if needed. Note on date of birth: a warning may appear if the person is an infant, but the entry can still be saved if intentional. |
|
Entering passport or ID details
|
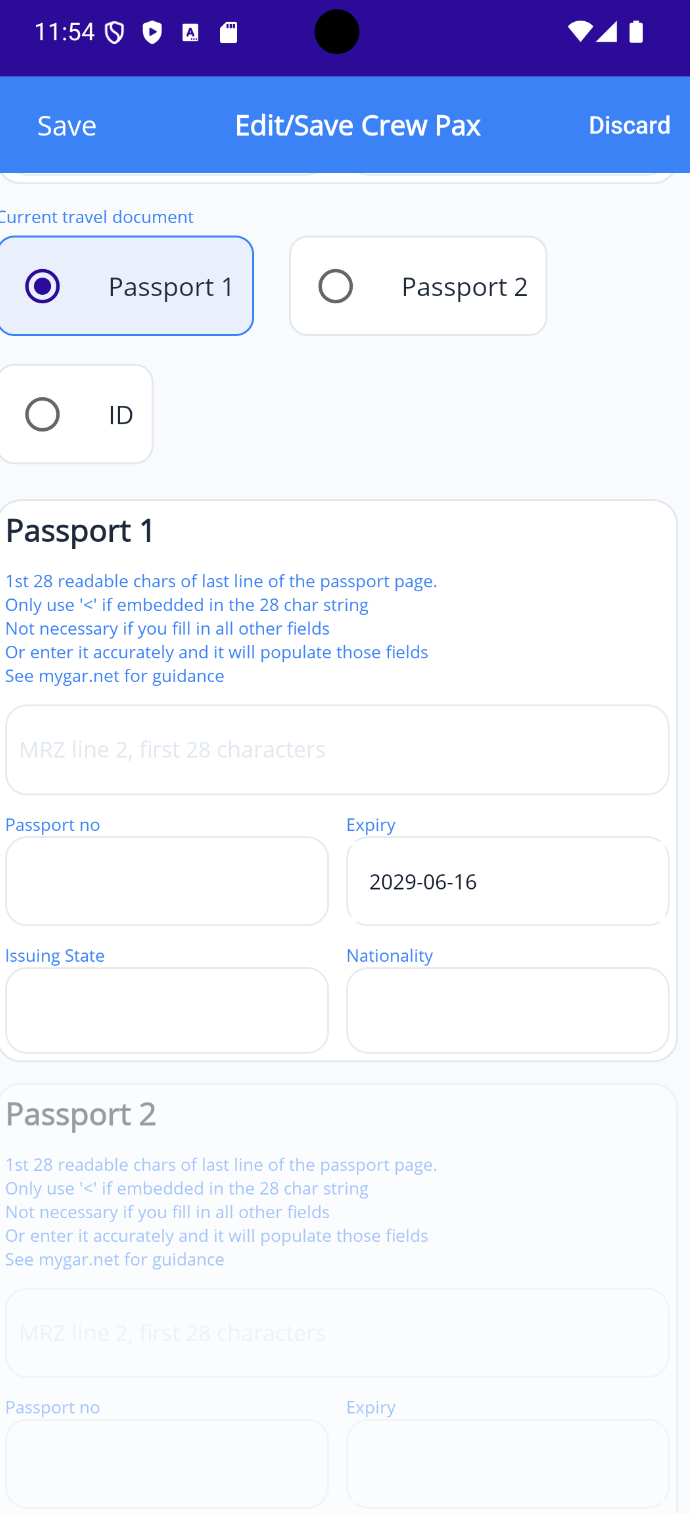
Select which document to enter by clicking the appropriate radio button — Passport 1, Passport 2, or ID card. The first field is the MRZ (Machine Readable Zone) — the last line on the passport data page. This field is entirely optional. If you enter it, it will automatically fill in the component fields below. If you fill in the fields individually instead, the MRZ will be constructed for you. The component fields are:
The issuing state is almost always the same as nationality. If entering the MRZ manually: the string must be exactly 28 characters — exactly as shown on the second MRZ line of the passport. Ignore any trailing < characters after 28 characters, but include them if they appear within the 28-character string. Note that date of birth and gender are taken from the Personal Details section. Notes on non-standard passports:
|
|
Import a vCard
|
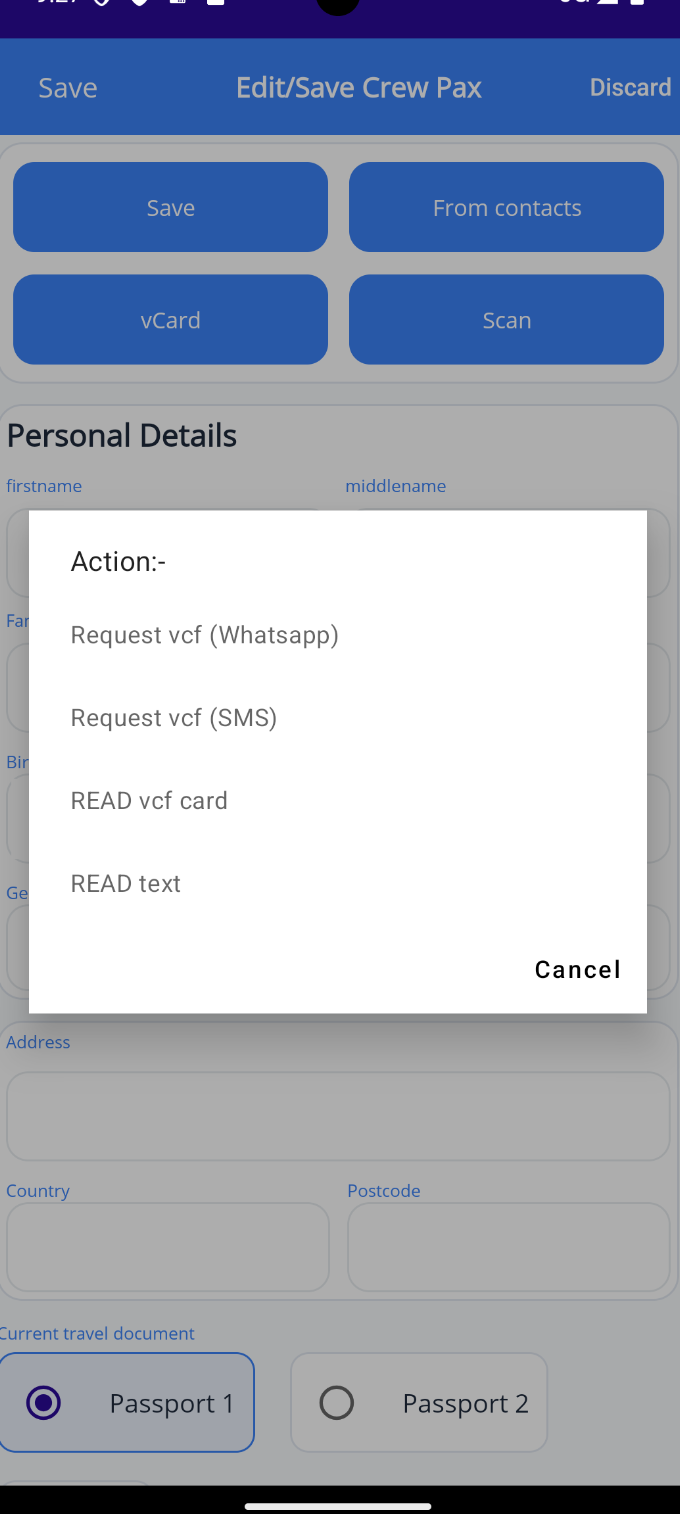
Tapping vCard gives two options:
On most phones there is a facility to share contact details as a vCard (.vcf file). On Android be careful to ensure the Notes field is included when sharing — this is where the passport MRZ data is stored. Ask your crew member or passenger to save their .vcf file somewhere easy to find (e.g. Downloads) before sending it to you. Tapping Contacts lets you import details directly from your phonebook. Success depends on how structured the contact record is — many people do not keep addresses in their contacts, for example. |
|
Scan a passport
|
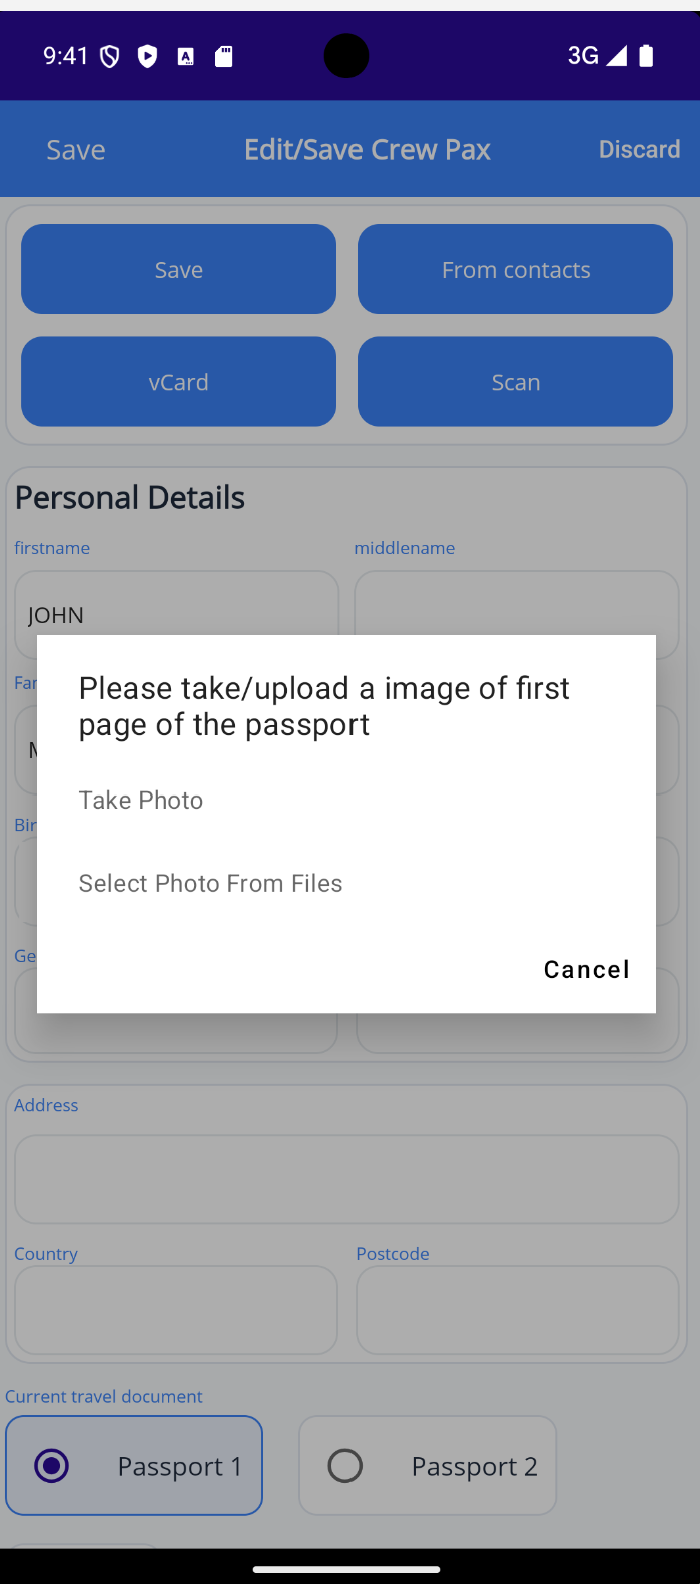
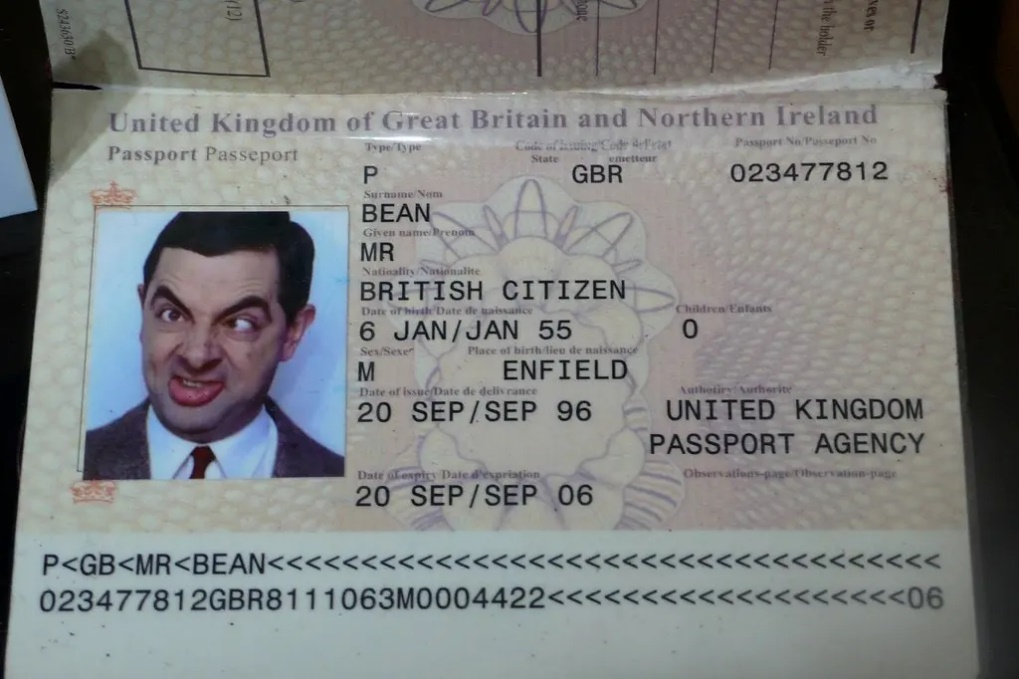
Tapping Scan allows you to extract ID information by photographing a passport data page — or by importing a photo that a passenger has sent you. For best results:
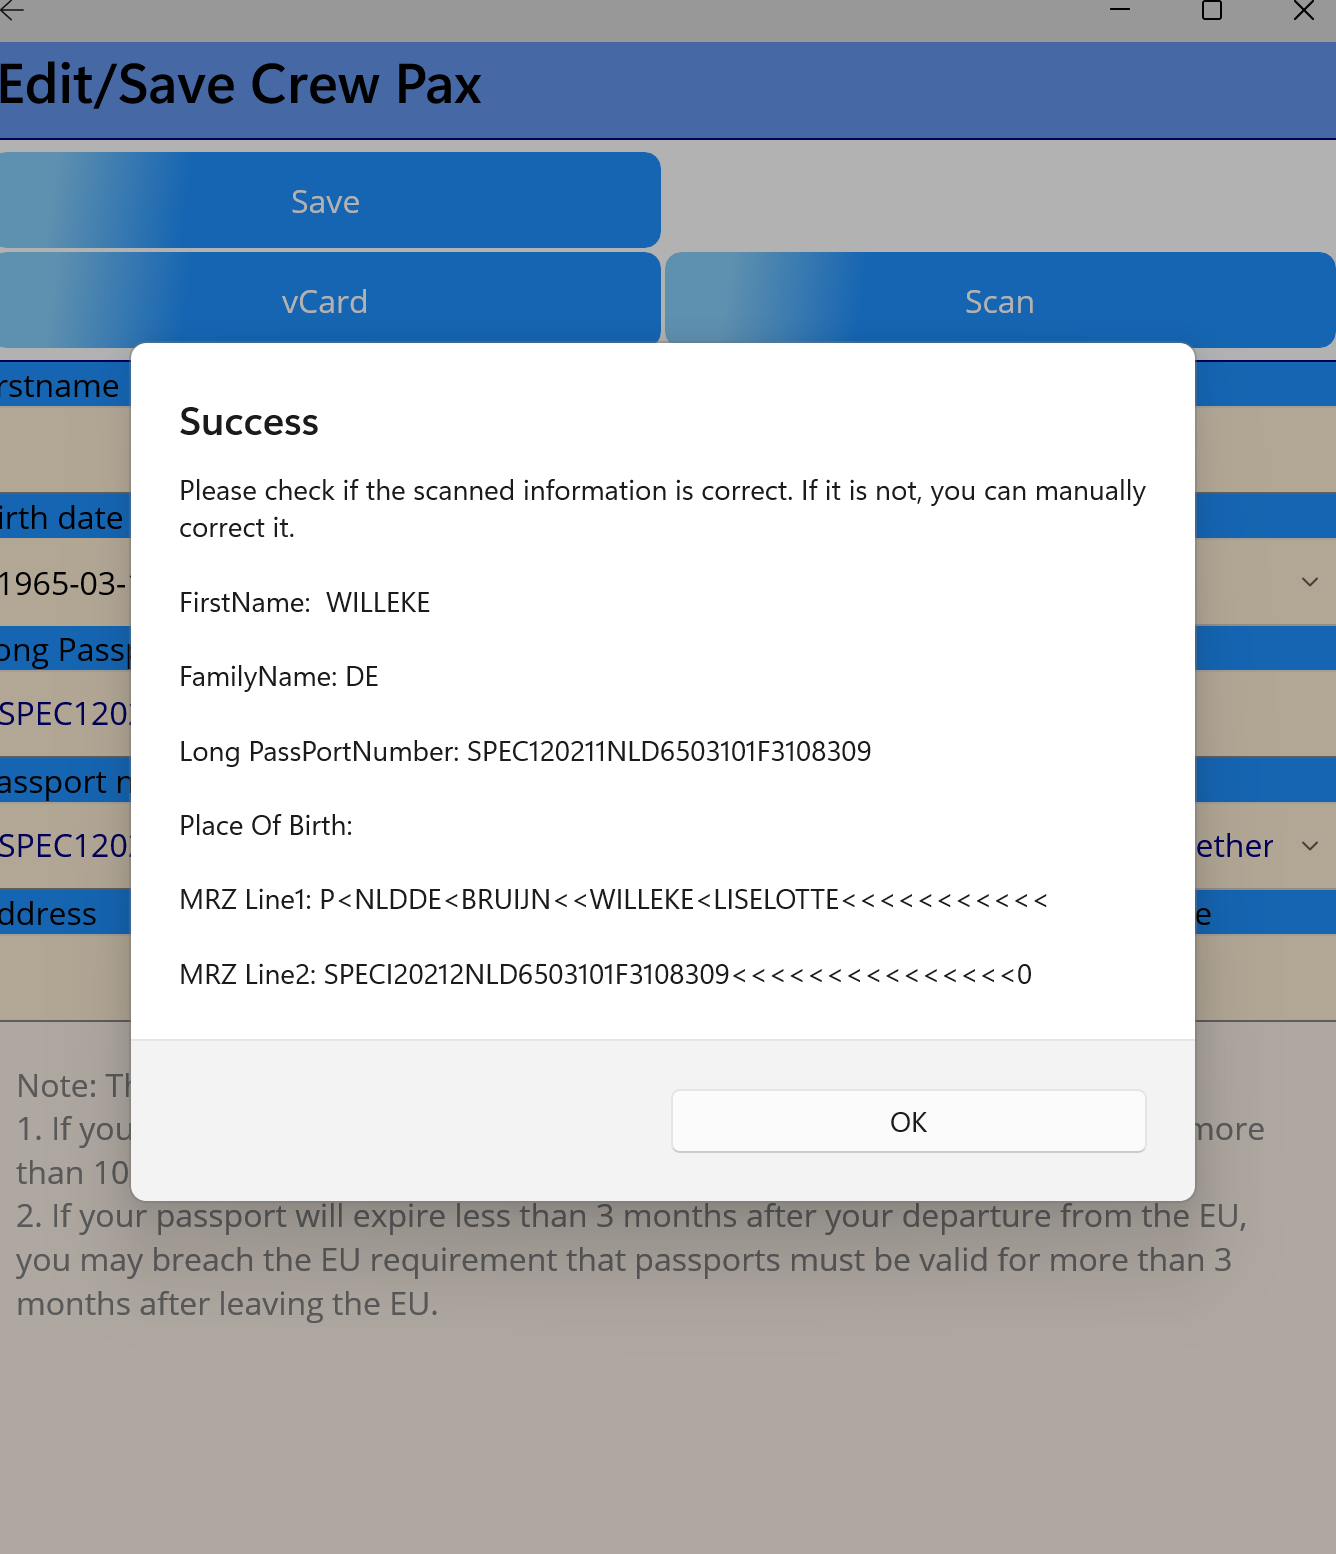
The OCR will take a few seconds. A report of success (or otherwise) will appear — it is rarely 100% accurate so always check the results carefully before saving. If you choose to scan from a saved photo, a file explorer will open and you must navigate to where the image is saved. The OCR reads the MRZ lines at the bottom of the passport page. You can also use the MRZ directly — enter the 28-character MRZ line 2 into the Notes field of a contact, or into the long passport number field in the crew/pax form, and the app will populate the other fields from it. |
|
← Back to Help Home | Manifest6 Help — last updated June 2026